
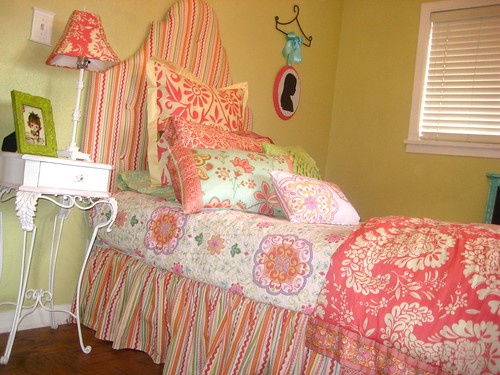
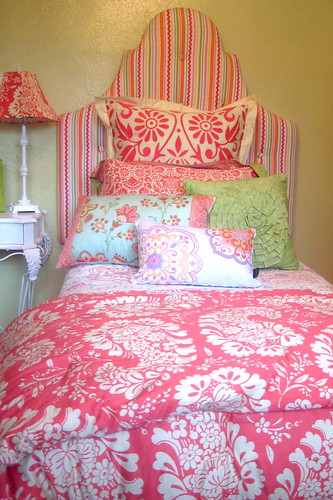
Finishing up... Emmy's big girl room!
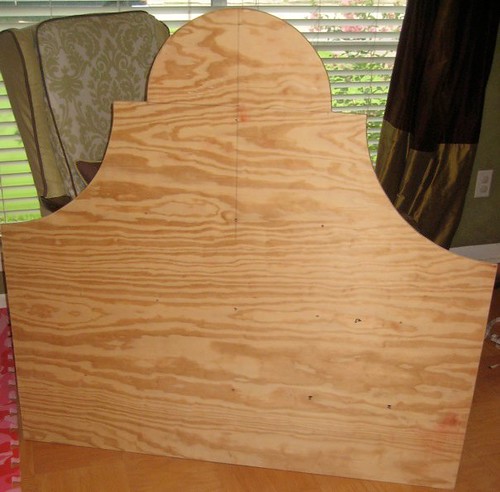
I got the pattern for the shape of the headboard and directions from the blog Design*Sponge
She also features a video with step by step instructions and the list of supplies needed. So, since she did such a great job, I skipped all that.
HERE is the template to download with all the measurements for cutting your wood. The template is for a Queen size but it's easy to figure out the measurements for smaller or larger size.
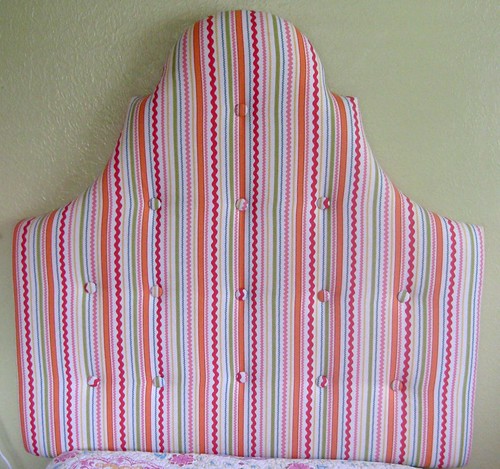
UPDATE: I forgot to add a link for the tufting part. There are lots on sites out there with different ways to go about "the tufting" but this is a site I found that did it the way I did. (use a finishing nail to tie the upholstery thread to on the back) You need two people. I only had me while my husband slept on the couch two feet away. Not cool! :)
I don't have the exact price, but it was around $60 for the wood, foam, fabric, and buttons!

BEDDING
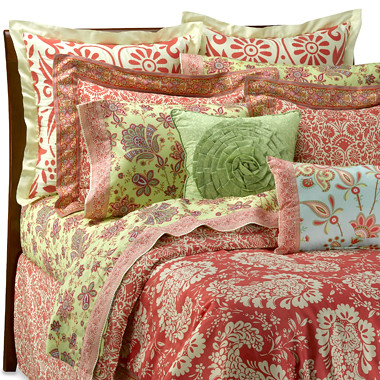
The bedding is Amy Butler "Full Bloom" which is at Bed Bath and Beyond now. Below is the picture from that site. I fell in love with the comforter after I had already found the fabric above that I used on the head board. I couldn't believe how well it went with this bedding. I bought the comforter, one Euro pillow, sheets and a couple of her throw pillows. This line is expensive in my opinion and I'm not really happy with a few things. First, I have to say the comforter is the softest most wonderful thing, but the sham doesn't look or lay at all like the picture below. The edges (or ruffle around the shams) are the flimsy cotton that doesn't not "stick up" like this picture. I sew and make bedding and still haven't figured out a way to fix that unless I sew my own ruffles around it. Still figuring that out.
The quilt I found at TJ Maxx and I thought it went perfect and it does. Lots of mixed fabrics going on here!
See this picture and how the sham is pitiful. The Euro sham is a little better but I had to add stuffing in the corners to help it look okay!
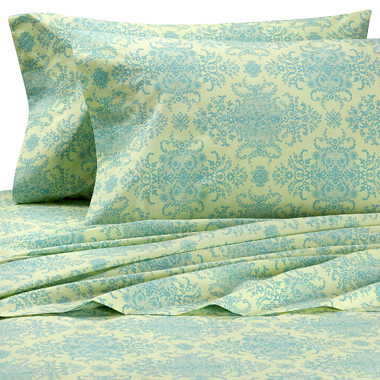
Look at the picture on Bed Bath and Beyonds website. How nice and ironed their sheets are...

You would definitely need to iron these and I'm not into that. I loved these colors so I had to have them even though they went with a different set from Amy Butler. They were 49.99 for twin sheets (i think that is high) and they are the hardest most wrinkled sheets EVER! They feel and sound like paper! She is an amazing fabric designer, can't she make some softer sheets? The picture above is with about 5 washes and lots of fabric softener and removing them straight from the dryer. Again, I'm not ironing them. I now has a set of Ralph Lauren sheets I got on clearance from Dillards that are so soft! BOOO waste of $50!
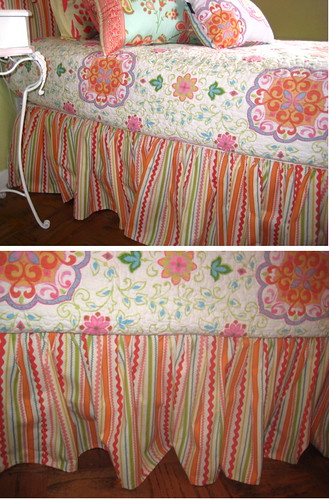
I sewed the bed skirt!
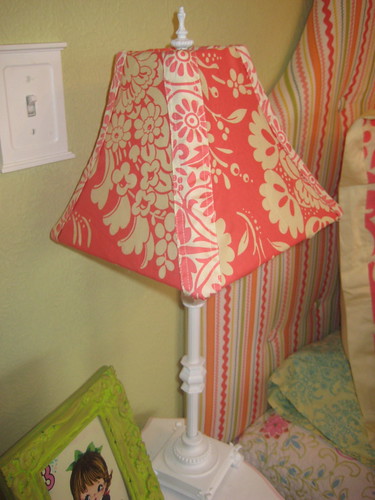
The comforter came in a bag so I cut it up and used the fabric to cover her lamp shade. the edges I covered with the straps!
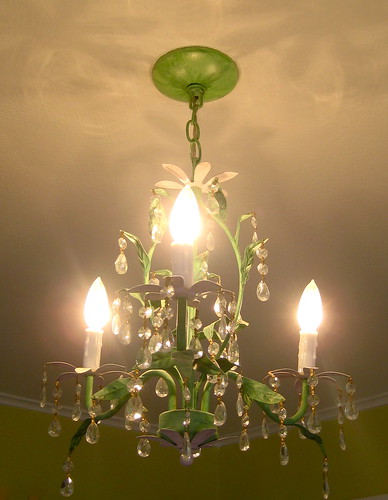
I bought this chandy at Lowes on clearance a few years ago and it was cream and orangey tan. I don't want to say it was ugly in case some one owns this, but it needed a little paint job. I used craft paint. I had shades on the lights when this was her nursery but took them off because they were pail pink.
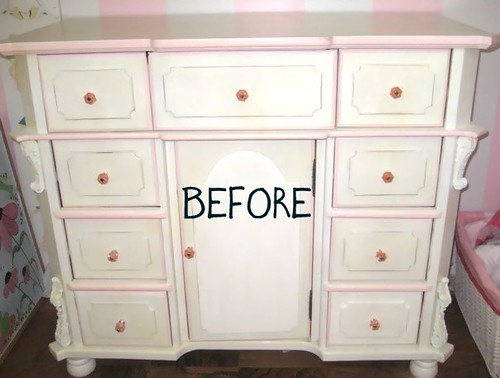
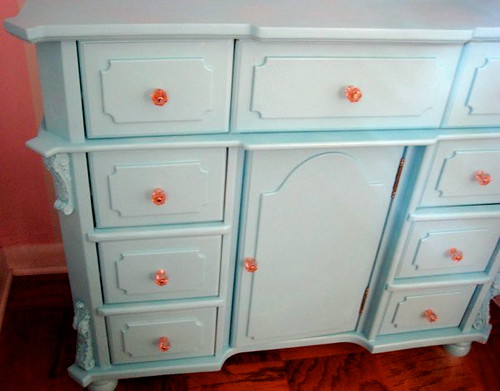
I bought this dresser on clearance at Hobby Lobby 3 years ago (the white looks bad in this photo) it was really weird grey blue and I painted it white for her nursery. For her big girl room I painted it a light Aqua
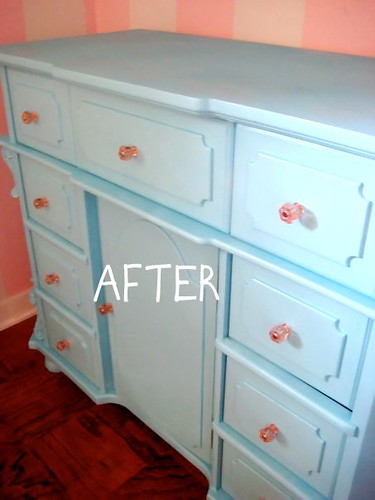
Should I paint her side table that matches the dresser blue too? The dresser is in the open closet so they are kind of separated.
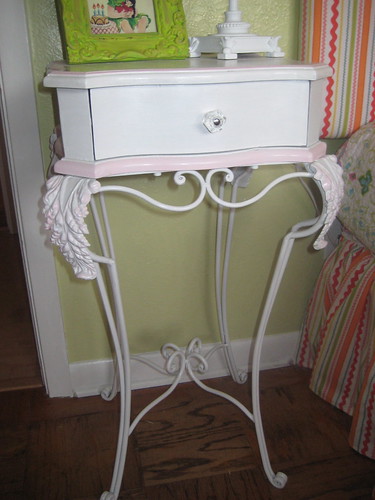
Leave it white?
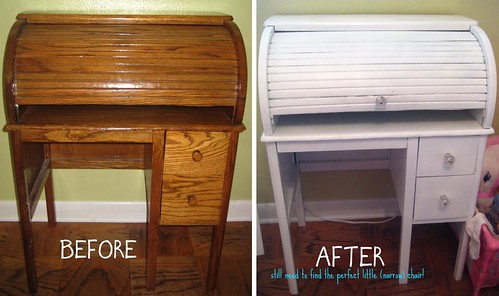
I found this old roll top desk at Goodwill, I painted it but still needs something??? Also still looking for a cute chair. It is a very narrow space.
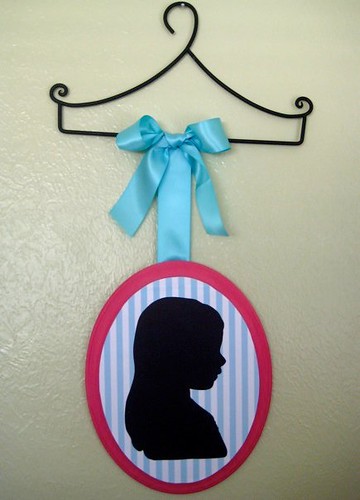
HERE is a great tutorial on how to make great silhouettes of your children for wall art from What I Made Today
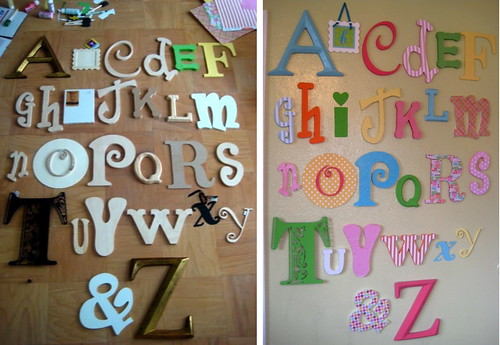
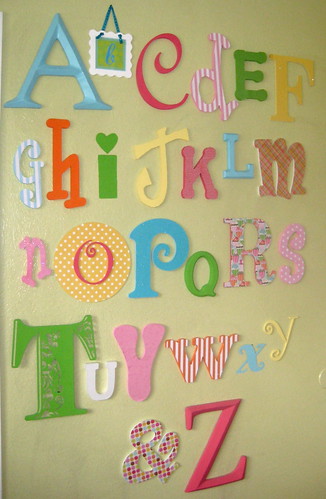
Before and after of her Alphabet wall
The Alphabet wall was a plan I had for a while. I have seen several versions of this on blogs and I just fell in love with it. My daughter just loves it! I have since done a boy version for a nursery. It is so cute too! I got a few of the letters from Hobby Lobby and the rest from HERE woodenletters.net. They have tons of fonts.
I need to finish the curtains and a few other details. Then I will post more pictures of hopefully a finished room SOON! I'm also working on my room then repainting the kitchen/living room. I'm going for the de-cluttered/simple white on white vintage/modern/eclectic look. Is there such a thing?
Absolutley darling... everything about it. Loved it.
ReplyDeleteSuper Cute!!!!! My daughter has a day-bed, I wonder if I use this tutorial for her's.
ReplyDeleteWow! The room turned out so cute! Love everything.
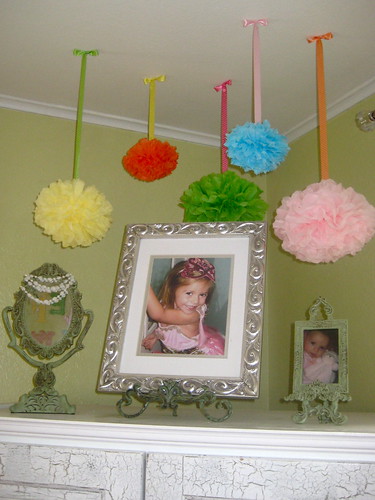
ReplyDeleteYou did an awesome job! What did you make the hanging poms from? Is that tissue paper or fabric?
ReplyDeleteLaura, tissue balls
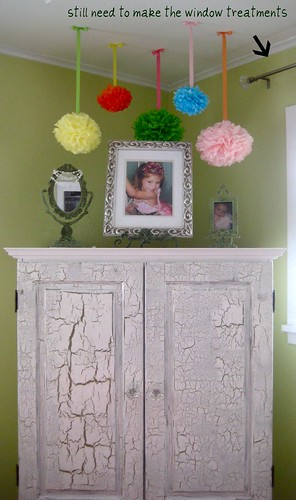
ReplyDeleteSO GORGEOUS!!! I have that crown shaped hanger thingie too, found it in the clearance section and I have no idea what to do w/it. So thank you for the idea!
ReplyDeleteI also love her letter wall! I am working on the same thing for my son's room...since last July. I need to get those things up on his wall!
maybe paint it that green color. Great job Kami!!
ReplyDeleteVery nice! I love her room!
ReplyDeleteOh my word, this is ADORABLE! I'm sure your daughter feels so loved. The silhouette turned out beautifully, too.
ReplyDeleteEverything in that room is adorable!
ReplyDeleteWhat a gorgeous room
ReplyDeleteHow did you place the buttons on the headboard?
ReplyDeleteThis comment has been removed by the author.
ReplyDeleteThanks everyone for all the sweet comments on my daughter's room!
ReplyDeleteOnce I decided how many buttons I wanted, I measured out the spaces and drew holes on the wood. Then i used a small drill bit to make the holes. I then applied the foam,batting and fabric. I used upholstery to apply the covered buttons. Going in through the hole in the back and back through and tied the thread off on a nail.
I'm sorry, I added the link to the headboard and forgot to post a link to the tufting part. I'll go back and add a link. I knew how to do that part before hand.
Thanks!
Where did you collect all of the letters from?
ReplyDeleteAll the letters are from Hobby Lobby, and most I bought on woodenletters.net. They have tons of fonts and very affordable. They all have to be painted or add paper. They are mostly all wood, a couple are metal.
ReplyDeleteThat stinks that the sheets were not soft because they are so lovely!! Perhaps you can use the material for liners for a basket in the room or something. It is too cute! Thanks for the ideas!
ReplyDelete